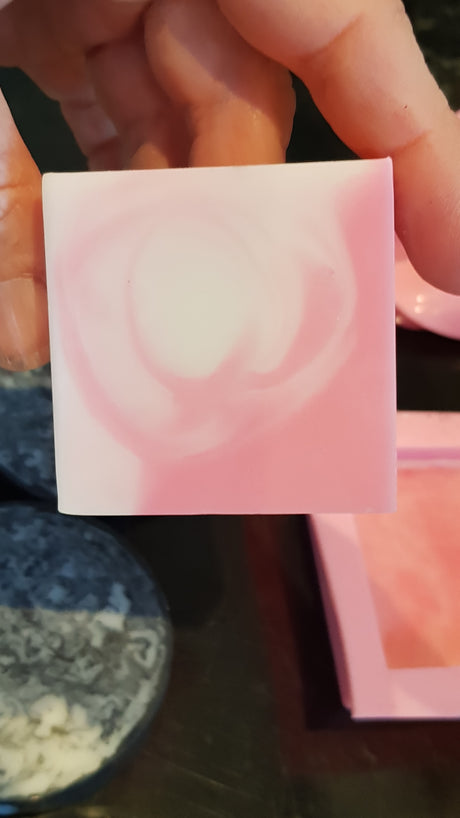
Can we make Swirls in our Melt and Pour Soap Base
Oh goodness, you folks said "Oh don't worry if your filming of a swirl technique is not good enough" You may be sorry - I think I had touched the...
Lesley Mitchell |
GEMSTONES, Natural Therapies, New Age Products: Have all been moved to www.SoulLightEmporium.com
Oh goodness, you folks said "Oh don't worry if your filming of a swirl technique is not good enough" You may be sorry - I think I had touched the...
Lesley Mitchell |
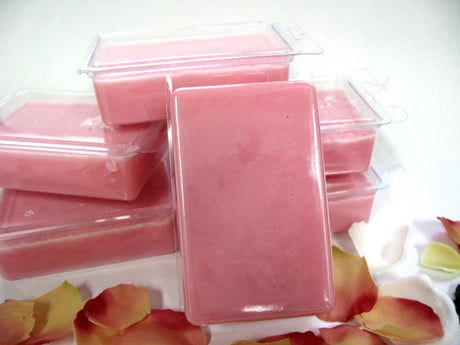
Don't pay $14.95 for shampoo bars - make your own for a fraction of the price, using a Renascent Bath Body high quality melt and pour soap base. Here's a...
Lesley Mitchell |
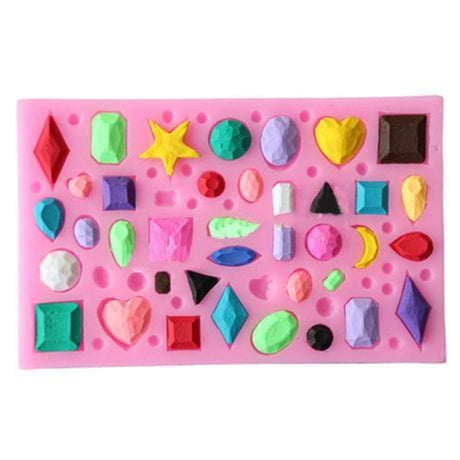
Never waste a speck of soap again - look how pretty these are
Lesley Mitchell |

A few tips and techniques for making your Amethyst Crystal Soaps Pop
Lesley Mitchell |

Making MP Melt and pour soaps is so easy and most of all it is great fun: Firstly we will discuss how to make your soap and then some of...
Lesley Mitchell |

Milled Soap Love the lather of CP, but don't want to mix Lye or wait for the 6 weeks cure time? We have made it easy for you with our...
Lesley Mitchell |

With a handy ready made base, making your own Shampoo has never been easier. Make your own personalised Shampoo. Liquid Shampoo Base is perfect for adding your own fragrances and...
Lesley Mitchell |

Isopropyl Alcohol is used in soap making to remove bubbles, lower surface tension in finely detailed moulds and allow different layers of soap to stick together. Isopropyl Alcohol is also...
Lesley Mitchell |

Fish in a bag soaps are undoubtedly one of the cutest soaps you can make. There's a few tips and techniques that will assist you to get it flowing easily....
Lesley Mitchell |